Petrostreamz Pipe-It (referred to as simply Pipe-It henceforth) is a software solution for scalable integration and optimization of petroleum assets. With a unique graphical platform, Pipe-It intuitively integrates complex data and model configurations typically found in our industry. Once data and models are integrated, Pipe-It provides sensitivity assessment and optimization capability to define business opportunities dependent on complex cause-and-affect dependencies of revenue opportunities and cost management. Our fundamental philosophy is that current work flows should not be disturbed, with each application custodian continuing to use the same software, including all utilities for pre- and post-processing.
This document provides an introduction to the use of Pipe-It and is meant to be a guide for understanding and using a project built by Petrostreamz AS for clients. Other sections in this document contain example to give the users all necessary details.
Please refer to Pipe-It Example Projects for some examples.
The Petrostreamz Support department can also arrange necessary training courses, short video tutorials or provide on-site support/consultancy services. Please contact
support@petrostreamz.com.
To start using Pipe-It, you will need to install the Pipe-It software in your machine. The software and a trial Pipe-It license is available upon request.
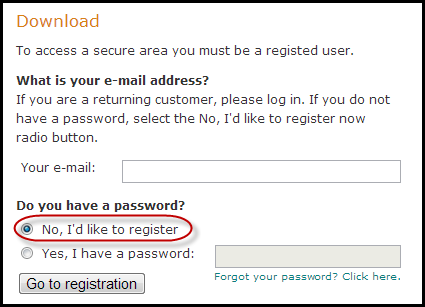
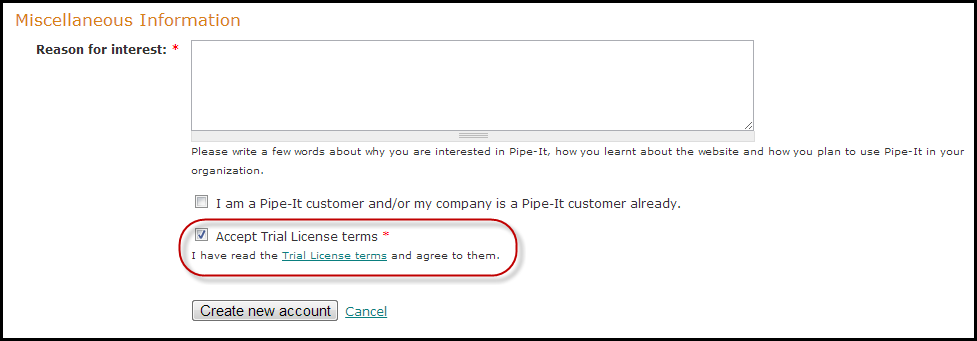
The first step is to register to create an account. This registration is free and only requires you to provide some information to be considered for a three-month trial Pipe-It license. Once you get your account, you can sign in to download the Pipe-It software.
The approval process could take a few days. Once your account has been approved, you will get an e-mail containing information about how to log-in, set your password, download Pipe-It and other details.
Once your account at Petrostreamz has been activated, you will receive an email containing all the information you need to log in, set your password, and other details.
After you log in and set your password by following the procedure mentioned in the email, you can start to download the Pipe-It software.
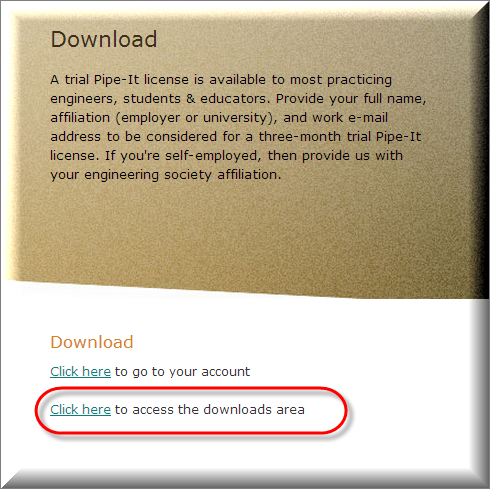

Note:
On the same page you can also download Pipe-It examples and brochures, these could help you to get familiar with Pipe-It.
Enjoy!
Pipe-It is distributed as a packed installation executable that is an application installation and configuration service. This binary is an engine for the installation, maintenance, and removal of Petrostreamz software on modern Microsoft Windows systems.
On other systems the installation procedures might be different. Installation packages are available for Mac OS X systems and Linux systems (on request).
Here is an explanation of the installation procedure that allows you to quickly install Pipe-It on your desktop system.
Petrostreamz AS provides installation binaries with the following naming convention, for example:
PipeItSetup-1.3.0.exe
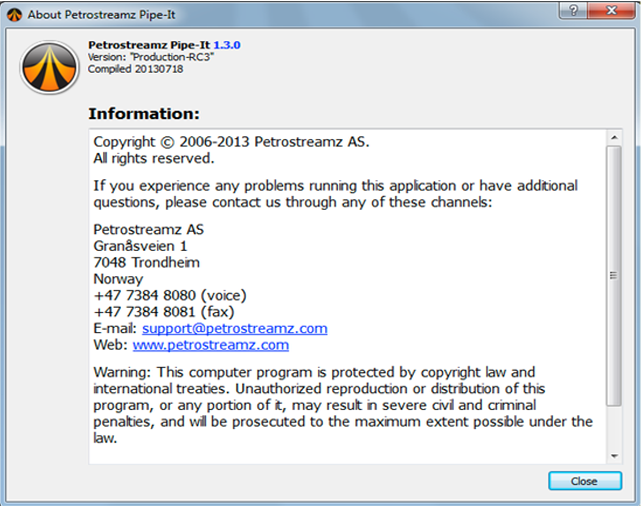
This allows you to keep track of build number and have up-to-date versions. You can easily compare this build ID with that of the version currently installed, which is shown in the About dialog (About Us on the Help menu):
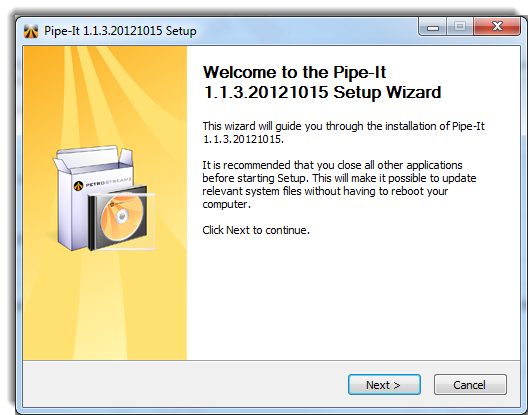
The first screen that you see indicates that Pipe-It installation is successfully started and that it will guide you through all installation steps and choices. It also shows the build number to keep you aware of which version you are installing:
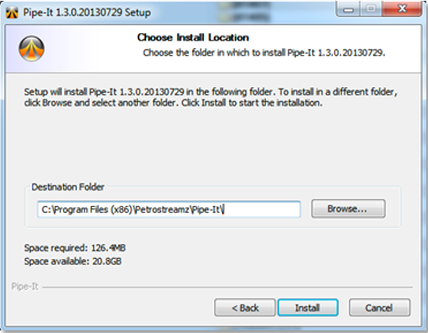
This page allows you to check the installation path of Pipe-It and if required change it to another one that is more convenient for your installation. Note that this installation path is stored in the registry, so when you run a Pipe-It installer with a new version to update Pipe-It, it will load the previous installation path automatically. Then you only need to check that it is correct and press the "Install" button:
The page indicates installation progress, and shows you the files being copied to your hard drive if "Show details" is clicked. Just wait few seconds to get the software installed:

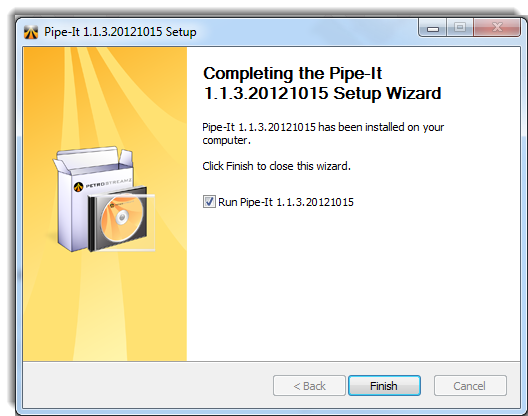
Finally you get a screen that indicates that the installation is completed. Also by default it allows you to run Pipe-It directly when the installation is closed:
The Pipe-It software product includes the following components distributed within the installer binary:
Growing set of standard conversion utilities to facilitate integration of popular engineering software (e.g. Eclipse, Sensor)
Petrostreamz Pipe-It, like most of the applications on your computer, has a set of preferences you can customize. You use preferences to specify things such as auto-save settings and a default folder for storing projects. At this point it is recommended to change at least the default editor from Notepad (on Windows) to the one you are used to. You can worry about the others as you get more experience with using Pipe-It.
To view or change preferences:
Win: Choose Edit > Preferences
Mac: Choose Pipe-It > Preferences
Preferences are tabbed into 3 pages:
The page of preferences defines settings:
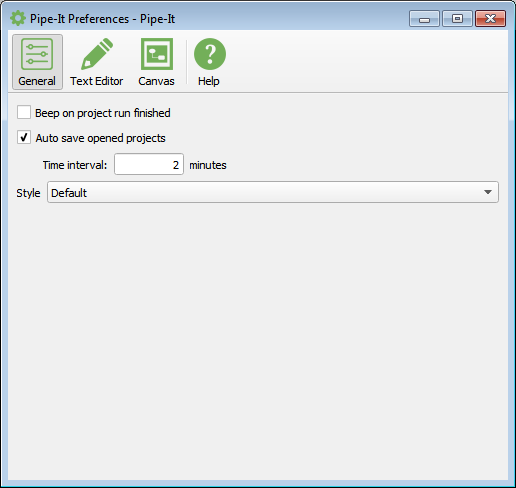
Beep on project run finished - the checkbox makes Pipe-It beeping when execution of your project is finished. By default the setting is enabled, but you can disable it when running Optimizations and it produces several beeps too often. Anyway this is good indication for long term executions to attract attention.
Auto-save opened projects - the option with defined interval enables timer to save your project after defined time from last save operation. It saves project into model+view files, ppm and ppv with same file name as opened project but prepended with "~". In case of power failure you have possibility to extract lost changes to project by getting information from auto-save files.
Style - change the visual appearance of Pipe-It. A selection of pre-defined styles come with the installation. It is also possible to add new customized styles in the Styles folder in the Pipe-It installation directory.
Text Editor page allows you to define default text editor for Edit Item action for Resources. Note that it is different than double-click on Resource which invokes Application from default system association with this file type. Instead Right click on Resource and choosing Edit Item, or just pressing F4 invokes association defined by this preferences page.
It can be very useful if you would like to have fast way of starting File edition process but without changing the default association in OS to start editor with double-click. Using F4 invokes Editor specified in Pipe-It and allows to keep double-clicking for processing the file by some utility.
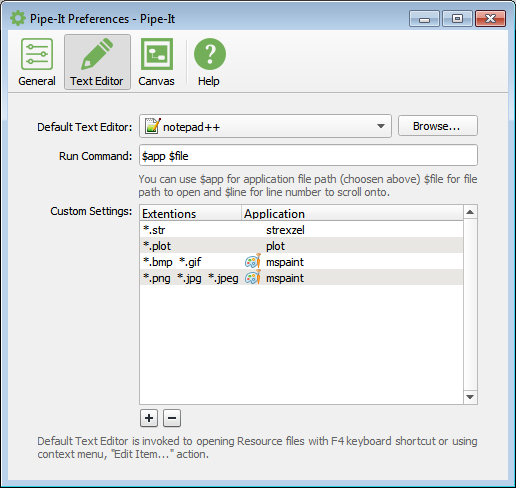
You can see that the page allows you to extend associations for several file types. By default it provides additional association for image files to show you example of defining new bindings to your editing applications.
You can customize canvas settings next:
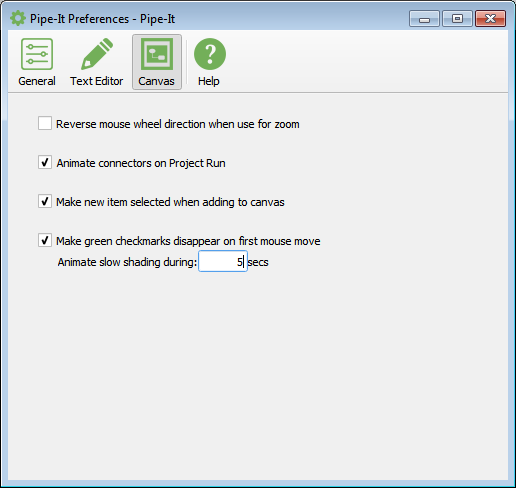
Use mouse wheel for zooming - By default the mouse wheel (or the trackpad found on current portable computers) is used to scroll up and down in the canvas. This setting will allow the user to use it for zooming in and out instead.
Reverse mouse wheel direction when use for zoom - Zoom-in and Zoom-out are swapped from the default action.
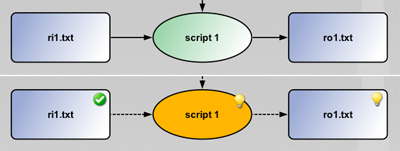
Animate connectors on Project Run - when you run your project, then active connections (which are connected to elements that are being processed this time) are animated by moving dots to show you which Resources are currently used or produced by running Scripters.
Make new item selected when adding to canvas - Fairly obvious.
Make green checkmarks disappear on first mouse move - When execution of project is completed then all processed elements got checkmarks (in right top corner) to indicate completeness of executed elements. Checkmarks that indicates problems attracts attention to resolve situation and start execution again. But in case of successful execution all elements are marked with green checkmarks and not required to be kept on canvas to continue your operations. For such case you can use the option to keep green checkmarks until first mouse move - you definitely notice the project state and can continue work.
It is convenient if project run time is huge and you need indication when you return to computer to look at completeness of the execution.
Animate slow shading during - Time used to fade the checkmarks.